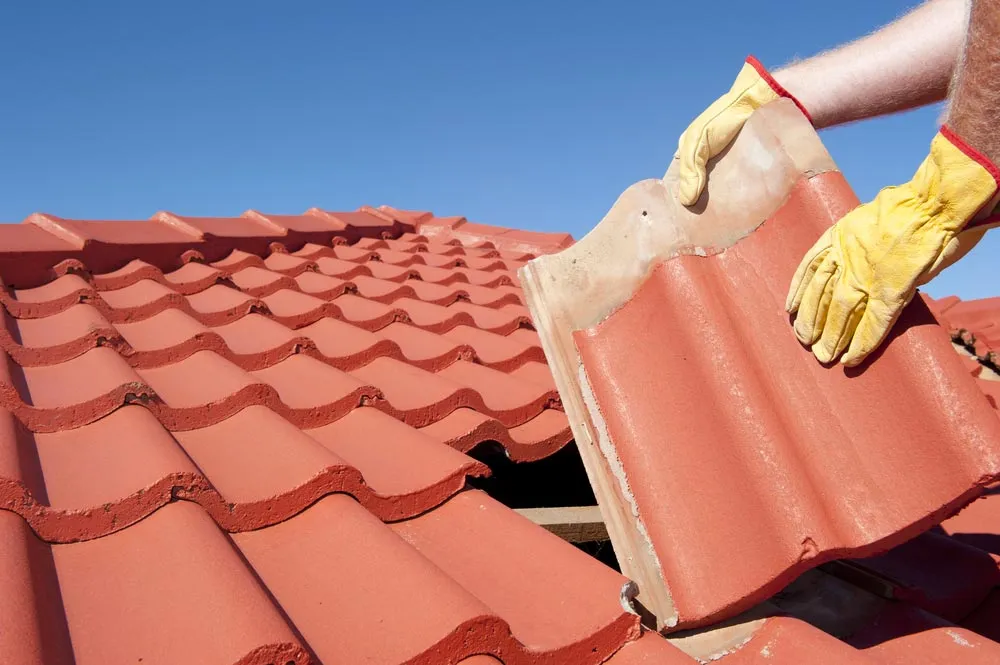
You may need to remove and replace roof tiles for several reasons. Perhaps the current tiles are damaged or broken and your home is no longer watertight. Or maybe you’re looking to sell your house, in which case replacing the roof tiles will boost its visual appeal and increase its value. This tutorial will guide you through the process of removing and replacing roof tiles, from choosing new tiles all the way to sealing the final row of nails for a watertight finish.
Step 1: Roof tile removal
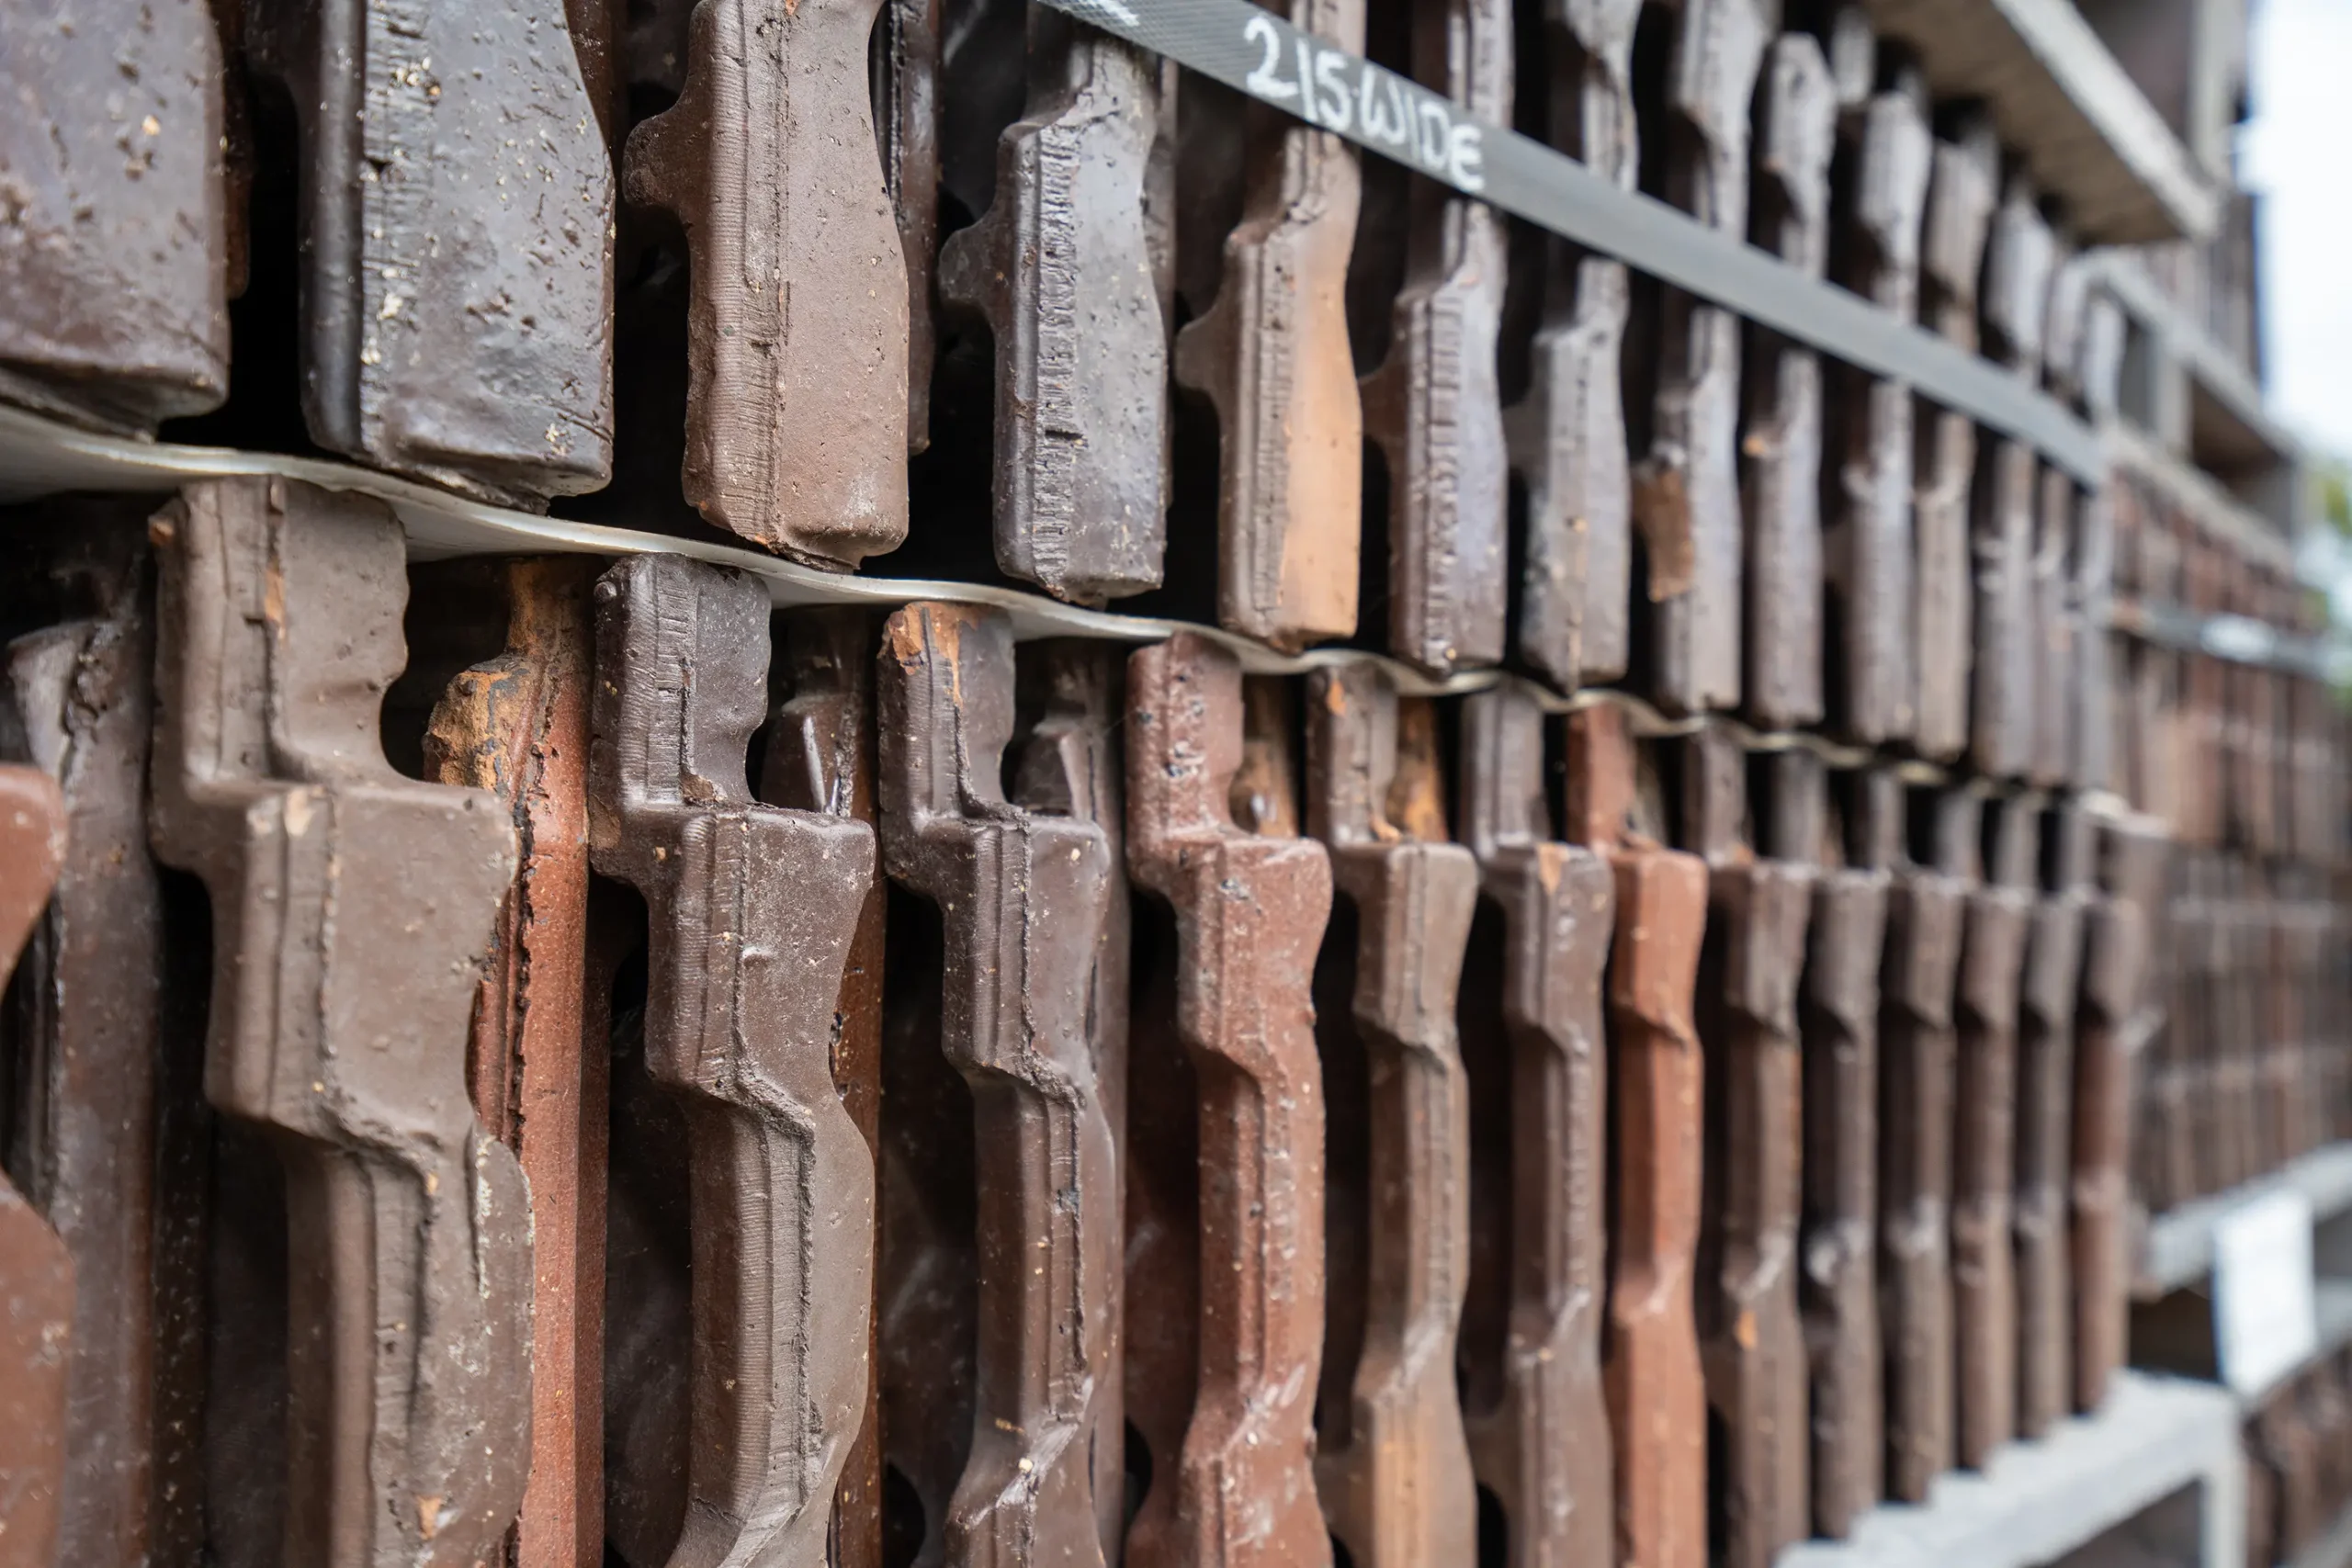
The first step in removing roof tiles is to locate the ones you wish to remove (if you’re not removing them all). You can use a hammer and pry bar to carefully lift the tiles. Safety glasses and gloves should be worn and you may also want to wear a long-sleeved top and pants to protect your skin. Once the tiles have been removed, place them into a bucket – this makes it easier to carry them down off the roof and protects them in case you wish to recycle them.
Step 2: Underlayment
After you’ve removed your old tiles, you’ll need to install your new underlayment. Your underlayment should be installed in horizontal rows, beginning at the bottom of the roof’s peak and working downward. If you have a complex-shaped roof, such as a gambrel or gable, start by installing the entire perimeter of the roof before proceeding with any other installation steps.
After completing each row of underlayment, install a new drip edge in order to provide further protection against water damage. All seams should overlap by at least 2 inches (5 cm) to ensure the underlayment is watertight.
Step 3: Starter course
A starter course is a row of tiles installed along the bottom edge of your roof that is separate from the main body of tiles. Starter courses are not necessary on all roofs, but they are recommended because they help protect against water ingress. A starter course acts as a barrier between the underlayment and the main body of tiles to prevent or at least reduce damage in situations where water gets underneath your first row of roofing material. Your roofing contractor will let you know if you need one.
Step 4: Installing the main tiles
By the time you reach the next step, it’s a good idea to check the weather forecast. Tiling is best performed on a dry day. If you’re working alone, it’s also a good idea to wait if there’s any sort of wind – tiles can be quite heavy, and since this is your first time installing them, you might not have great balance.
Now you’re ready for this last step! Start by installing the main tiles on the lowest row of your roof. You’ll want to put these in place about 100 mm from where you’ve cut your nails. Measure up from the bottom edge of your battens with care – if they aren’t installed properly, it could cause leaks when it rains. To make sure each tile is an equal distance from your battens’ bottom edge, use a spirit level or just line them up by eye and measure once they’re in place.
Step 5: Hip and ridge tiles
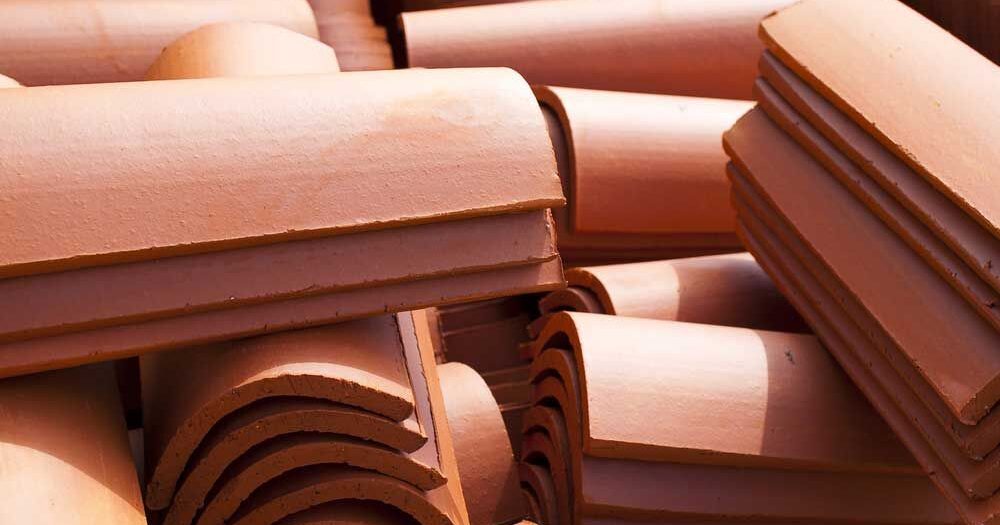
Hip and ridge tiles are the crowning glory of your roof, but installing these can be tricky.
First, use a chalk line to mark the position of the hip and ridge tiles, making sure both are level.
Next, apply a generous bead of roofing adhesive along the top of each tile. As you set them in place, do so with one hand firmly on top of the tile to prevent it from lifting away from the adhesive.
Now you’ll need to use a spirit level to ensure that your hip and ridge tiles are straight. Then you’ll need to attach them using some screws or nails – there should be pre-drilled holes on your ridge or hip tiles for this purpose.
Talk to the Experts at Recycling Roof Tiles Today!
Hopefully, this guide has given you the confidence to remove and replace roof tiles safely. Safety should always come first, so keep in mind the following:
- Be aware of your surroundings when working at height
- Wear the right clothes for working on roofs
- Wear appropriate safety gear including gloves, a hard hat and safety glasses.
- Check for loose debris and broken tiles before stepping on or climbing onto your roof.
Finally, if you have salvageable roof tiles, do your bit for the environment by contacting Recycling Roof Tiles who can collect your old tiles and save them from landfill.